
Learn · The process

How to make
homemade ice cream, step by step

Same ingredients, very different results. Whether homemade ice cream comes out creamy is not decided by the recipe: it is decided by the process. Here is the why of each stage, not just the what.

Mix
Pasteurise
Chill
Age
To churn
Freeze
6 stages

from mix to freezer

With or without a machine

the why is the same

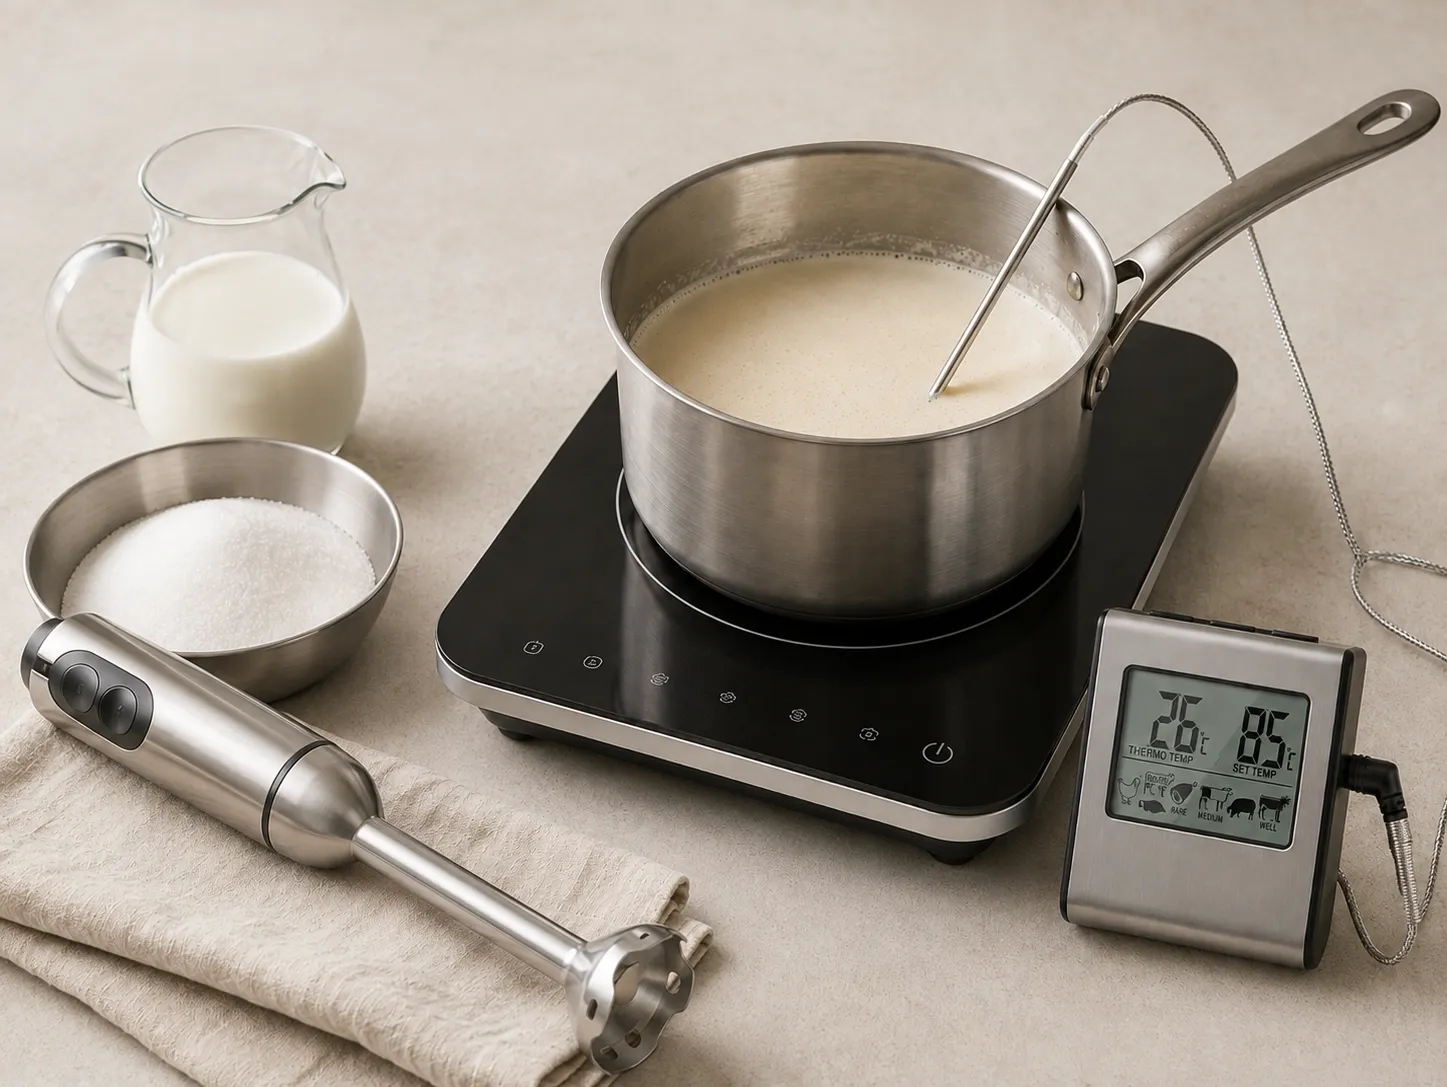
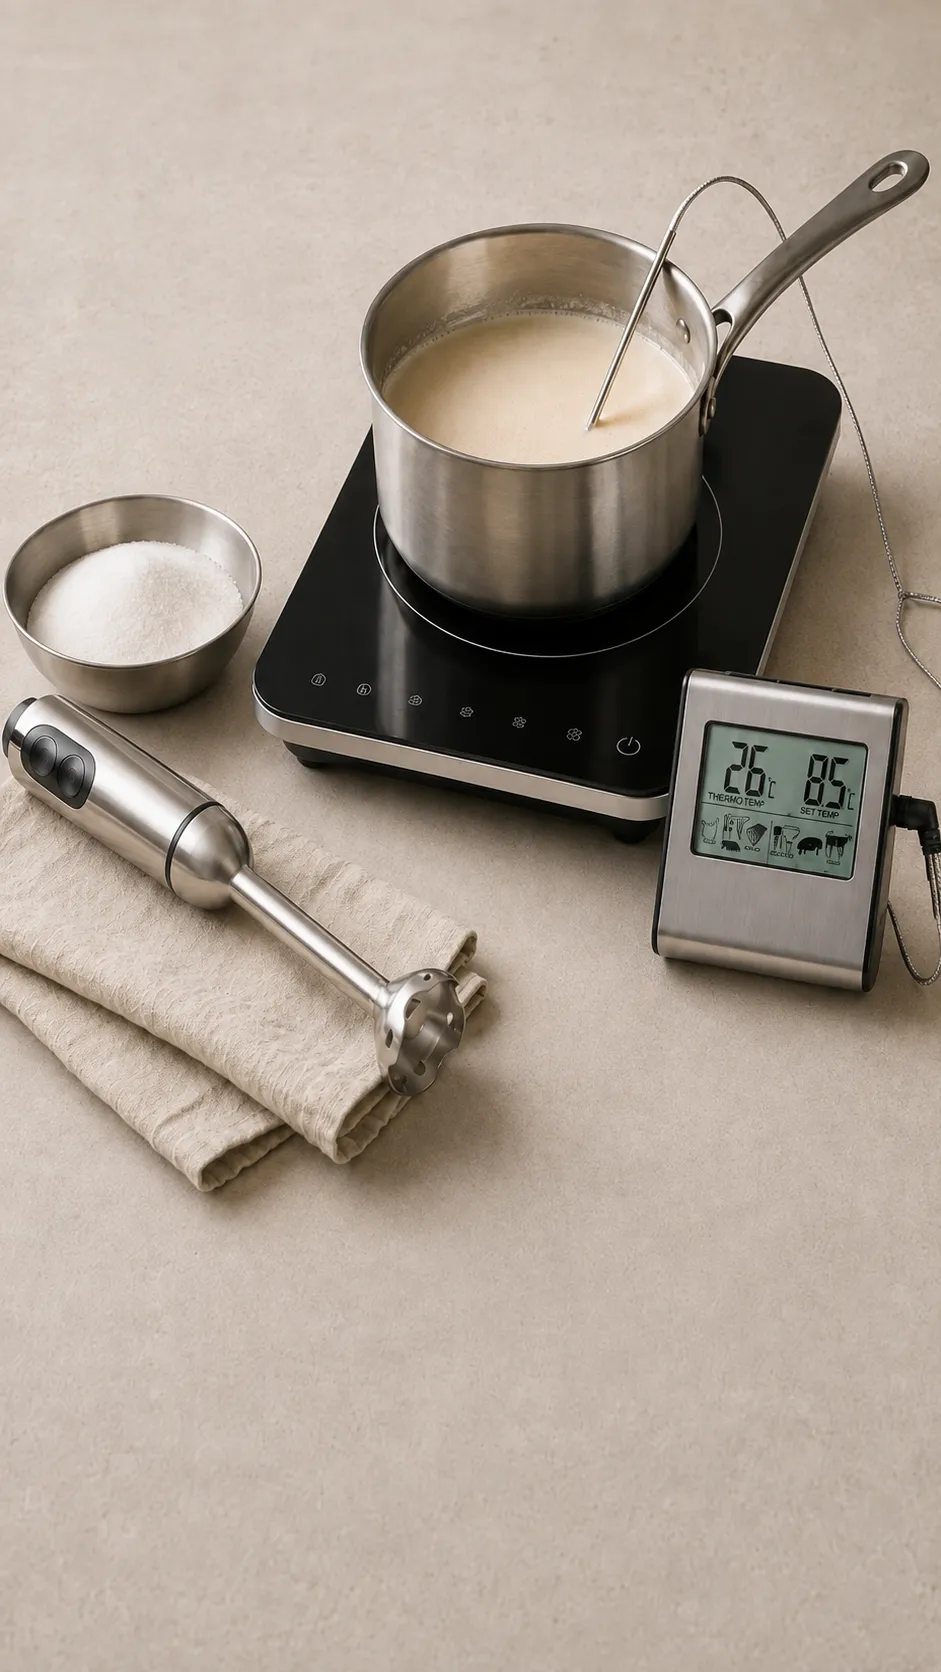
Ice cream mix pasteurising in the pan with a thermometer, next to the milk and the sugar
The key idea

Making ice cream is managing cold, air and water. The faster you freeze and the finer you churn, the smaller the ice crystals and the creamier the ice cream.

The process

The 6 stages,
and why they matter

Skip a stage and you will taste it in the texture.

The stage most people skip

Ageing. It takes no effort, only time: 12 hours in the fridge and the ice cream whips better and comes out creamier.

1

Weigh and mix

Precision

Weigh everything on a gram scale: sugars and stabiliser move in tenths and a one-gram error shows in the texture. Dry-mix the stabiliser with part of the sugar so it does not clump as it hydrates.

2

Heat and pasteurise

69–85 °C

Heat the mix to dissolve the solids and, above all, to pasteurise it. Add the stabiliser (dry-mixed with part of the sugar) at around 40 °C, as it starts to warm up: that way it disperses without lumps. Fat emulsifies better hot.

3

Chill it fast

→ 4 °C

Bring the temperature down as fast as you can in an ice-water bath: crossing the lukewarm band quickly keeps bacteria from multiplying. Do cool it without whisking hard, though, because below 50 °C the fat you have already broken up tends to clump back together.

4

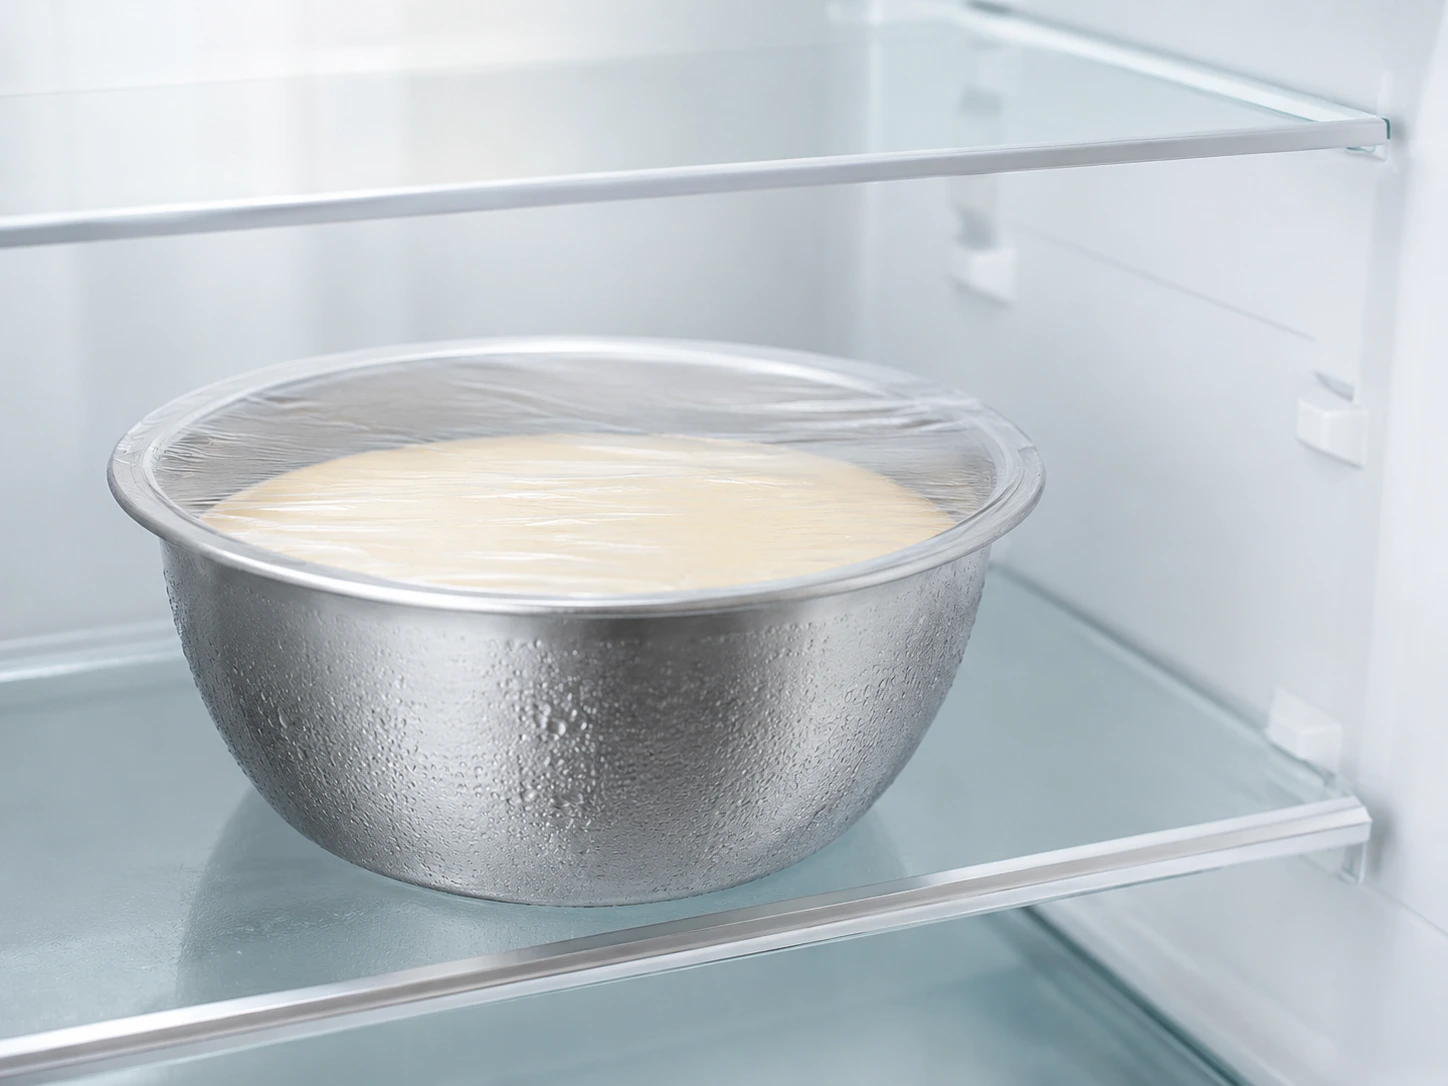
Age it cold

12-24 h

Rest it covered in the fridge, ideally 12 to 24 h and 72 at most. The stabiliser finishes hydrating, part of the fat crystallises and the proteins structure the water. Four hours already gives you the essentials; from 12 to 24 it only refines.

5

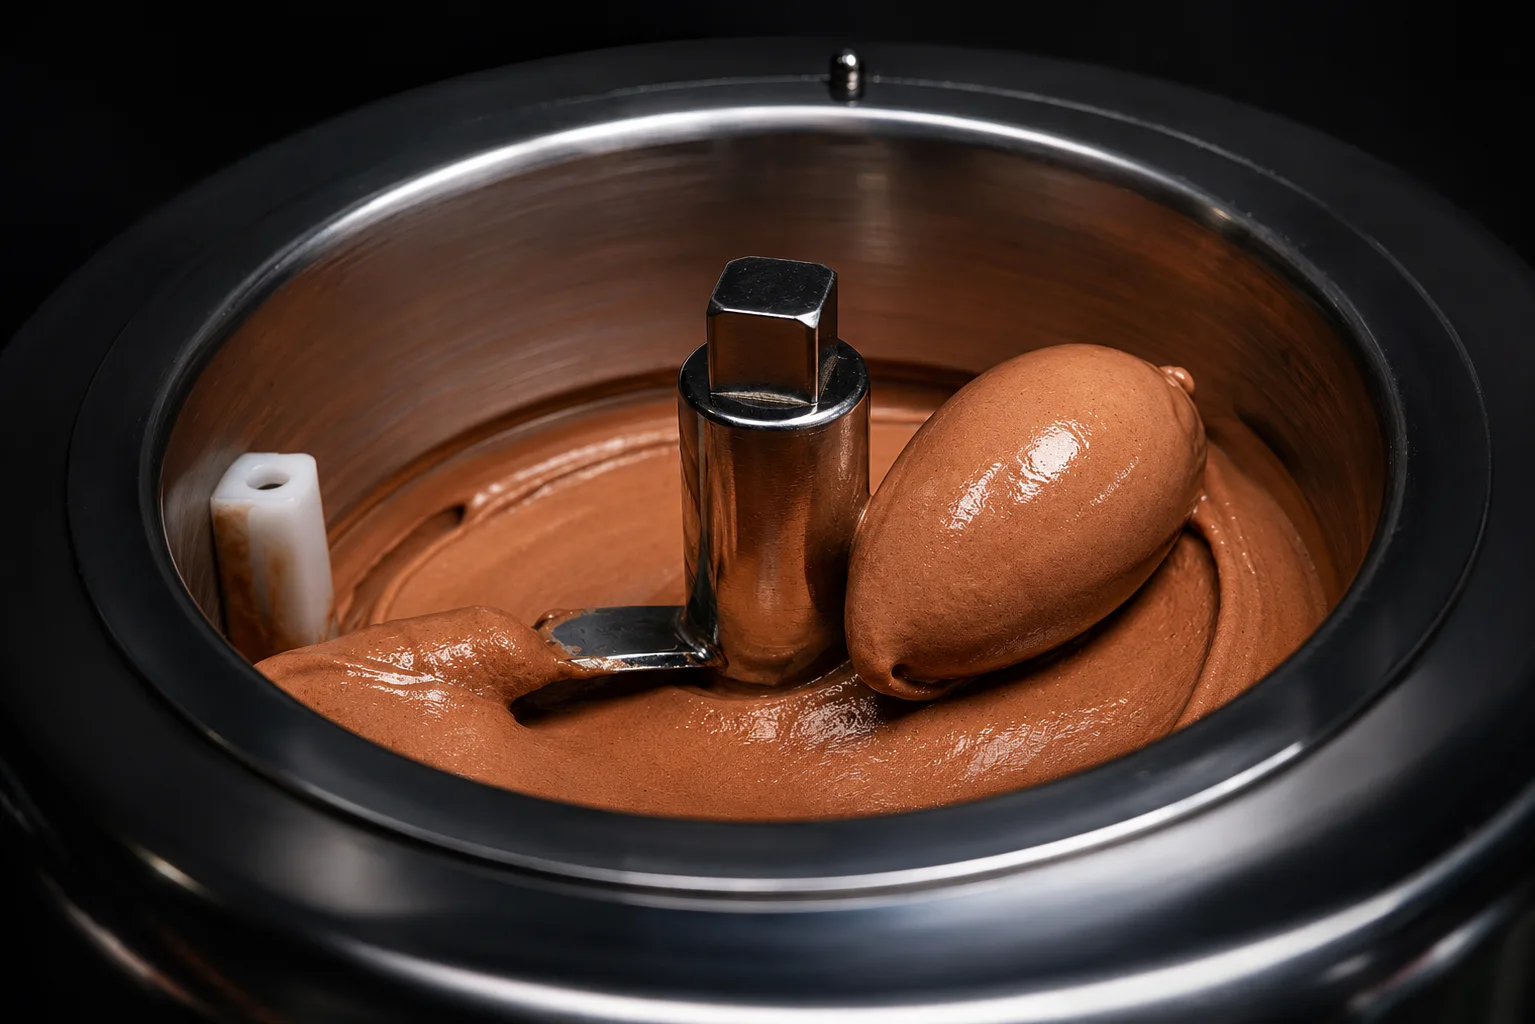
Churn (beat while freezing)

The faster, the better

In an ice cream maker the mix freezes while it churns: that is how it takes in air (the overrun) and the crystals stay tiny. Without a machine, whisk hard every 30-40 min as it freezes, for the first three or four hours.

6

Harden and store

−18 °C

Move the ice cream into an airtight container, filled to the top so it does not pick up frost. And let it harden fast: coming out of the machine only half the water has frozen, and getting slowly to 80 % forms big crystals. Serve it at the temperature its PAC calls for.

How to make homemade ice cream: maturing
Step 4
The step almost everyone skips

Ageing
changes everything

That rest in the cold, at around 4 °C, is not wasted time: it is what separates a mix you churn straight away from one that really delivers. Past 72 h it stops improving, and the risk of it picking up fridge smells goes up.

The result? A mix that whips better, takes in more air, comes out drier and copes far better with the temperature swings of the freezer. A homogenised, aged base keeps longer and looks better.

12-24 h
of resting in the cold

At 4 °C
fridge, covered

Temperature crib sheet

Each stage,
at its own temperature

Every temperature has a reason

Sticking to the ranges is not a whim: each one starts or stops something that ends up showing in the texture, the flavour and the keeping.

85 °C
Pasteurisation

Dissolve, hydrate and make the mix safe

4 °C
Chilling and ageing

Cold shock and 12 to 24 h of rest

−6 a −9 °C
Churning

Beating while freezing to take in air

−18 °C
Storage

Airtight container, full and with no air

PAC
Serving

Whatever temperature your recipe says

With or without a machine

And if I have no
machine?

You can, and the why is the same: freeze fast and break the crystals. Only how you take in air changes.

The key idea

With or without a machine the goal does not change; what changes is how much work the machine saves you.

How to make homemade ice cream step by step with an ice cream maker
With a machine

The easiest and the finest

With a freezer bowl or a compressor, the machine beats and freezes at once: it takes in air steadily and the crystals come out tiny. Pour in the aged, cold base and stop when it has the body of a firm mousse.

How to make homemade ice cream step by step without an ice cream maker
Without a machine

By hand, with patience

Put the base in the freezer and beat hard every 30 to 40 min for 3 to 4 h, to break the crystals as they form. Shortcut: freeze the base in an ice tray and blitz it in a powerful processor just before serving.

Pasteurisation

Two ways,
one goal

Two pairs of time and temperature to make the mix safe. Both work; we always use the first.

The thermometer is in charge

Without measuring there is no pasteurisation: 85 °C lasts seconds and you have to see it. By eye, you either fall short or cook the yolk.

The one we always do

85 °C for a few seconds

It is the one in all our recipes: it makes the mix safer and it is over in a moment. If the mix has yolk, do not go higher, because above 85 °C the egg protein starts to spoil.

The other option

69 °C for 30 min

Gentler on flavour and on the proteins, but you have to hold the temperature for a full half hour without slipping. It works, though at home we do not use it in any recipe.

So nothing goes wrong

Common mistakes
in the process

These are the mistakes that show up most later, in the texture and in how the ice cream holds up in the freezer.

Get this right and everything changes

Temperature, resting, quantity and storage. Four things, and all four show.

1

Not chilling fast after heating

Between 4 and 65 °C bacteria multiply. Get the mix down to 4 °C as fast as you can (a bath of iced water).

2

Skipping the ageing

Churning it straight away gives a coarse ice cream that crystallises early. Give it its hours of cold resting.

3

Churning too little or too much

Respect your machine's capacity. Over-churning warms the mix and collapses the air already worked in.

4

Storing in a wide, shallow container

The more surface exposed to air, the more frost. Use an airtight tub and fill it to the top.

Next step

Now you know how to make it.
Now, how to refine it

You now have the whole process, from the scale to the freezer. The next step is fine-tuning it: learning to read what the ice cream tells you when it crunches, cloys or melts too soon.

Frequently asked questions

Does the process change if I use a food processor like a Thermomix?

The mix is made the same way: you weigh, heat and age it as always. What changes is the end: instead of churning it, you freeze it solid and shred it afterwards. That forces you to formulate with that shredding in mind, neither too hard nor too soft, and even then the spoon does not feel the same as with an ice cream maker. In the machines guide we compare them one by one.

Which homemade ice cream is easiest to start with?

Vanilla. Not for the flavour, but because it is the base recipe: if vanilla comes out right, you have the skeleton of almost every other flavour sorted. Fruit ones look simpler and are actually trickier, because every fruit brings its own water and its own sugar.

Can you make ice cream with just three ingredients?

You can, and the formula doing the rounds online is whipped cream with condensed milk. It comes out creamy because it is loaded with fat and sugar, not because it is balanced. As a treat it works; as a base for other flavours it does not, because it leaves you no room to move anything.

How long does it take to make ice cream at home?

Less work than it looks and more clock than it looks. The mix takes 15 or 20 minutes, but then you have to chill it, age it for a few hours, churn it and let it harden. Plan it from one day to the next: almost all that time is waiting.

What is churning and why does it matter so much?

It is freezing the mix while churning it. That movement does two things at once: it breaks the ice crystals as they form and it works air in. Freeze without churning and you get a block; churn without freezing and you get a liquid cream. Ice cream sits exactly where the two meet.

Can I use condensed milk instead of sugar?

You can, and it is a very popular recipe, but bear in mind that condensed milk it is not just sugar: it also brings milk, fat and lactose. In other words, swapping it does not move one ingredient, it moves four. If you do it, run the recipe through the calculator.

Why is my homemade ice cream not like the one from the shop?

Almost always for two things you cannot see: the balance of sugars, which is what decides whether it stays creamy or hard, and the serving temperature. A home freezer sits at −18 °C and ice cream is eaten between −12 and −10 °C. Just taking it out ten minutes earlier makes the difference.

Start here

Learn to make ice cream
step by step

We send you the recipes and the technical guides as soon as they are published. No spam, just ice cream done properly.